


Disassembling an IoE Module
Follow these steps to take down an IoE Module and prepare it for storage.
Tools
Several tools are needed, including gloves, goggles, adjustable wrench, hex key (4 mm; included), Gripple release key (included), zip ties, and an impact driver with 1 3/8" socket.
Steps
Caution: Wear gloves and goggles for safety.

-
Power off the IoE Module.
Press the power button (
 ) and accept the prompt (Power Down? > Yes).
 -
Disconnect all cables from the IoE Module external connector panel.
The IoE Module may have solar panel cables and device cables.
-
Disconnect the ground wire.
If you cannot remove the ground rod, mark it for visibility. Coil the ground wire and collect the hardware for safekeeping.
-
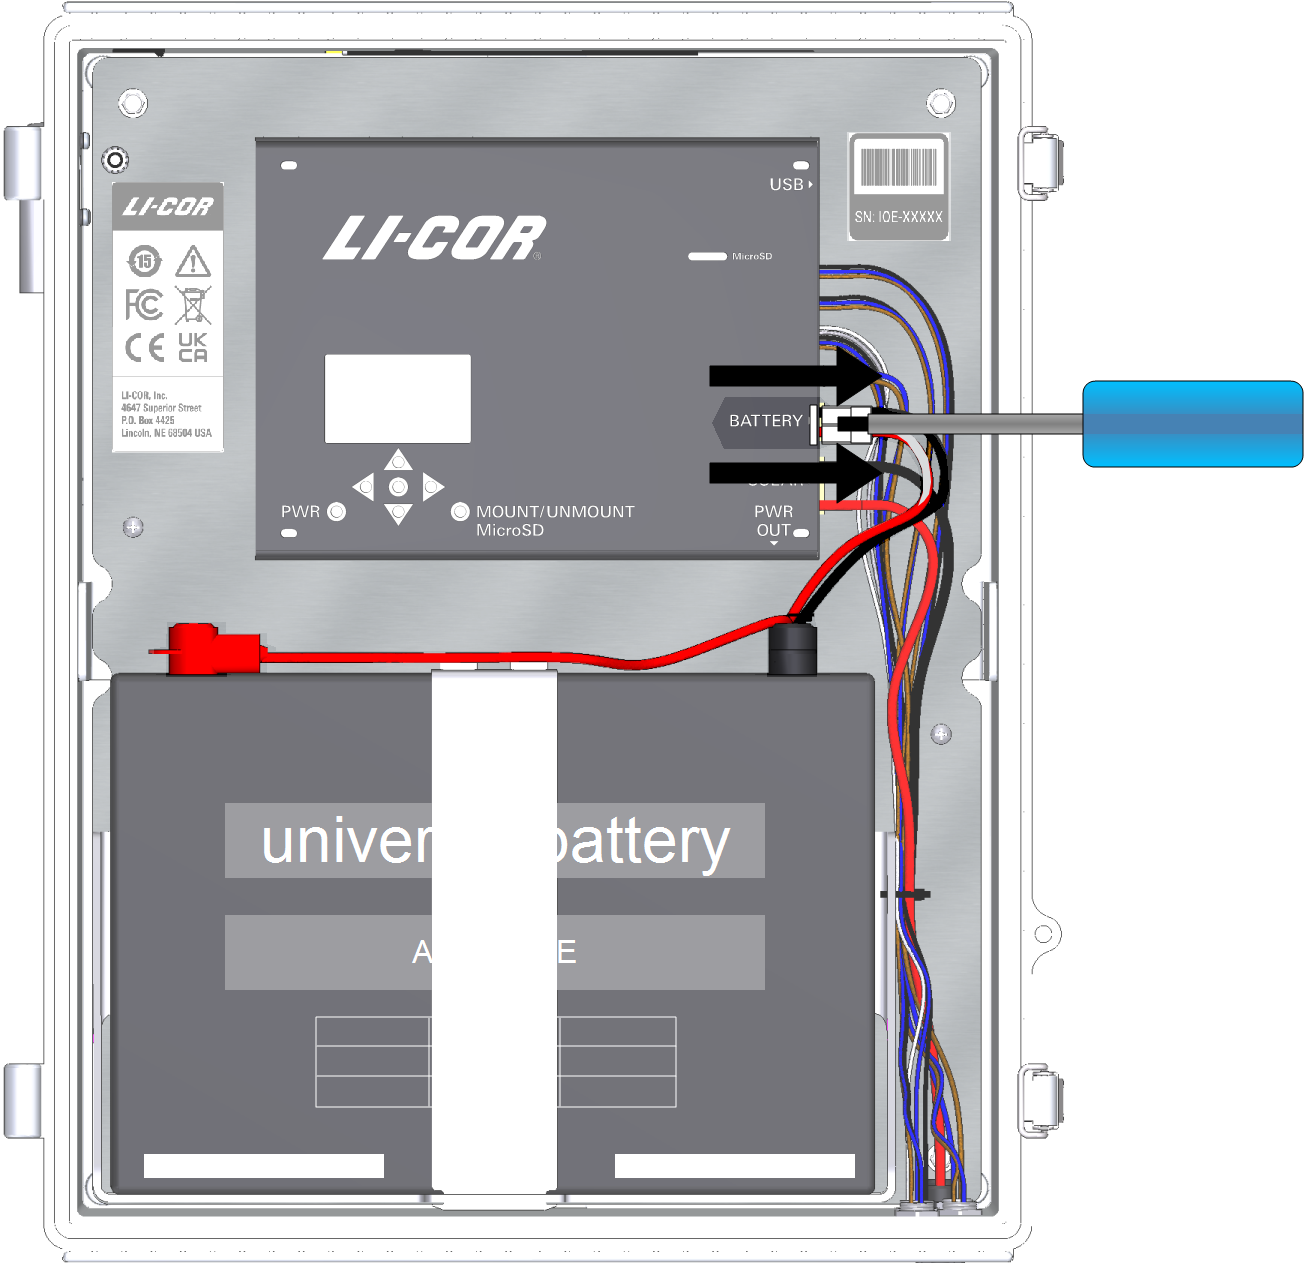
Disconnect the battery cable and remove the battery.
Use a flat screwdriver to disconnect the battery cable from the connector. Lift the battery out of the enclosure.
-
Remove the solar panel from the rails.
Be sure the cables are disconnected from the IoE module first. You can leave the cable extensions connected to the panel. Loosen the panel clamps and lift the solar panel off of the rails. You can leave the clamps on the rails or remove and collect them.
-
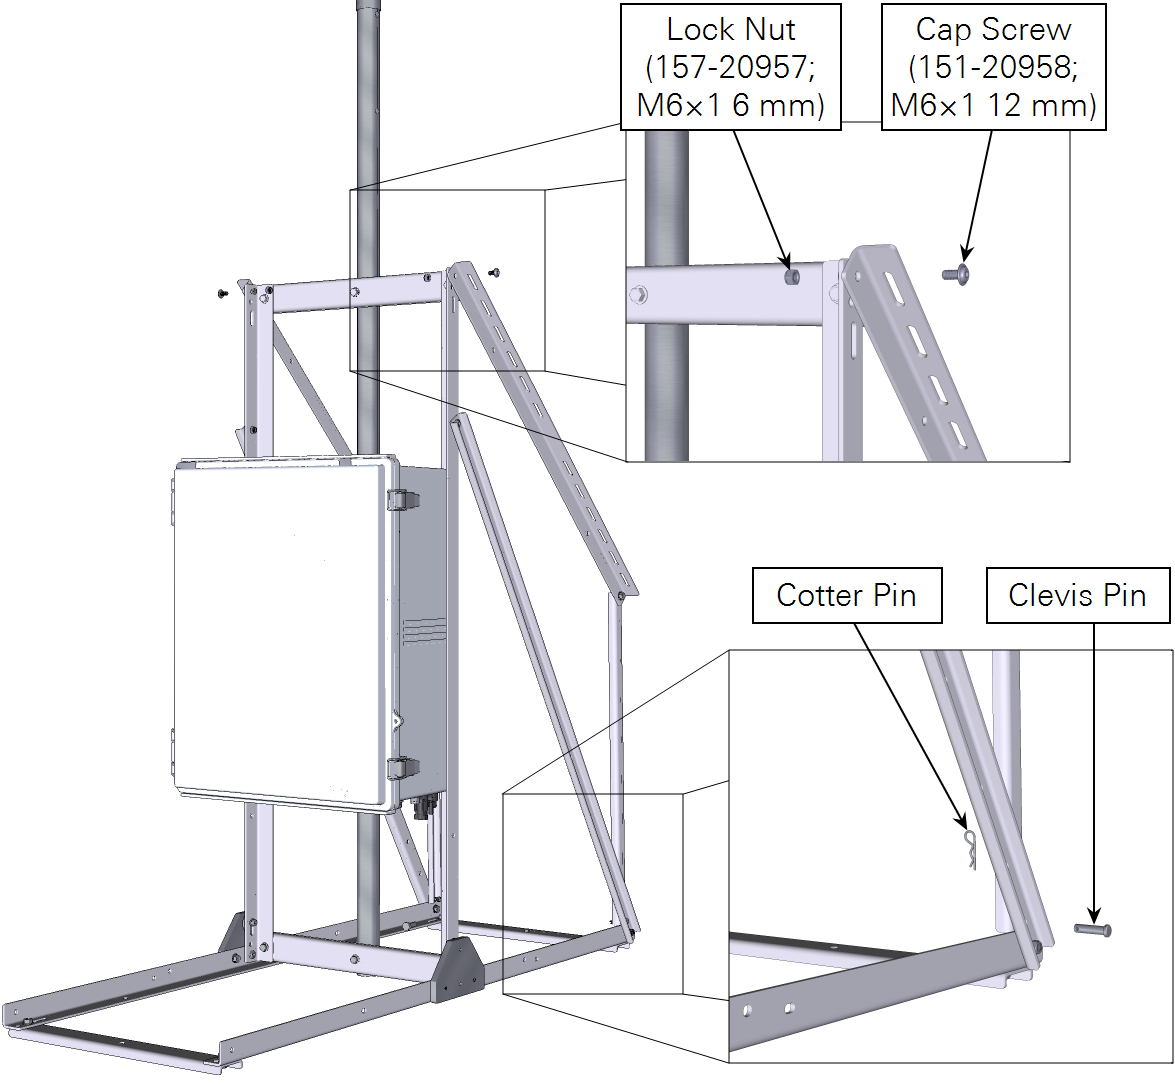
Remove the solar panel rails.
Each rail is secured with a nut and bolt and pins. Keep the hardware in a bag or insert it back into the brackets for safekeeping.
-
Close the door and secure the clasps.
-
Prepare to lower the mast.
Always support the mast with one hand when adjusting it. Do not allow the mast to slam down without resistance. While gripping the extended portion of the mast, pull the lower pin. Continue to grip the mast and then loosen the knurled clasp. Lower the mast with a hand-over-hand motion. Repeat with the upper segment, if needed. Install the pins in the lowered mast.
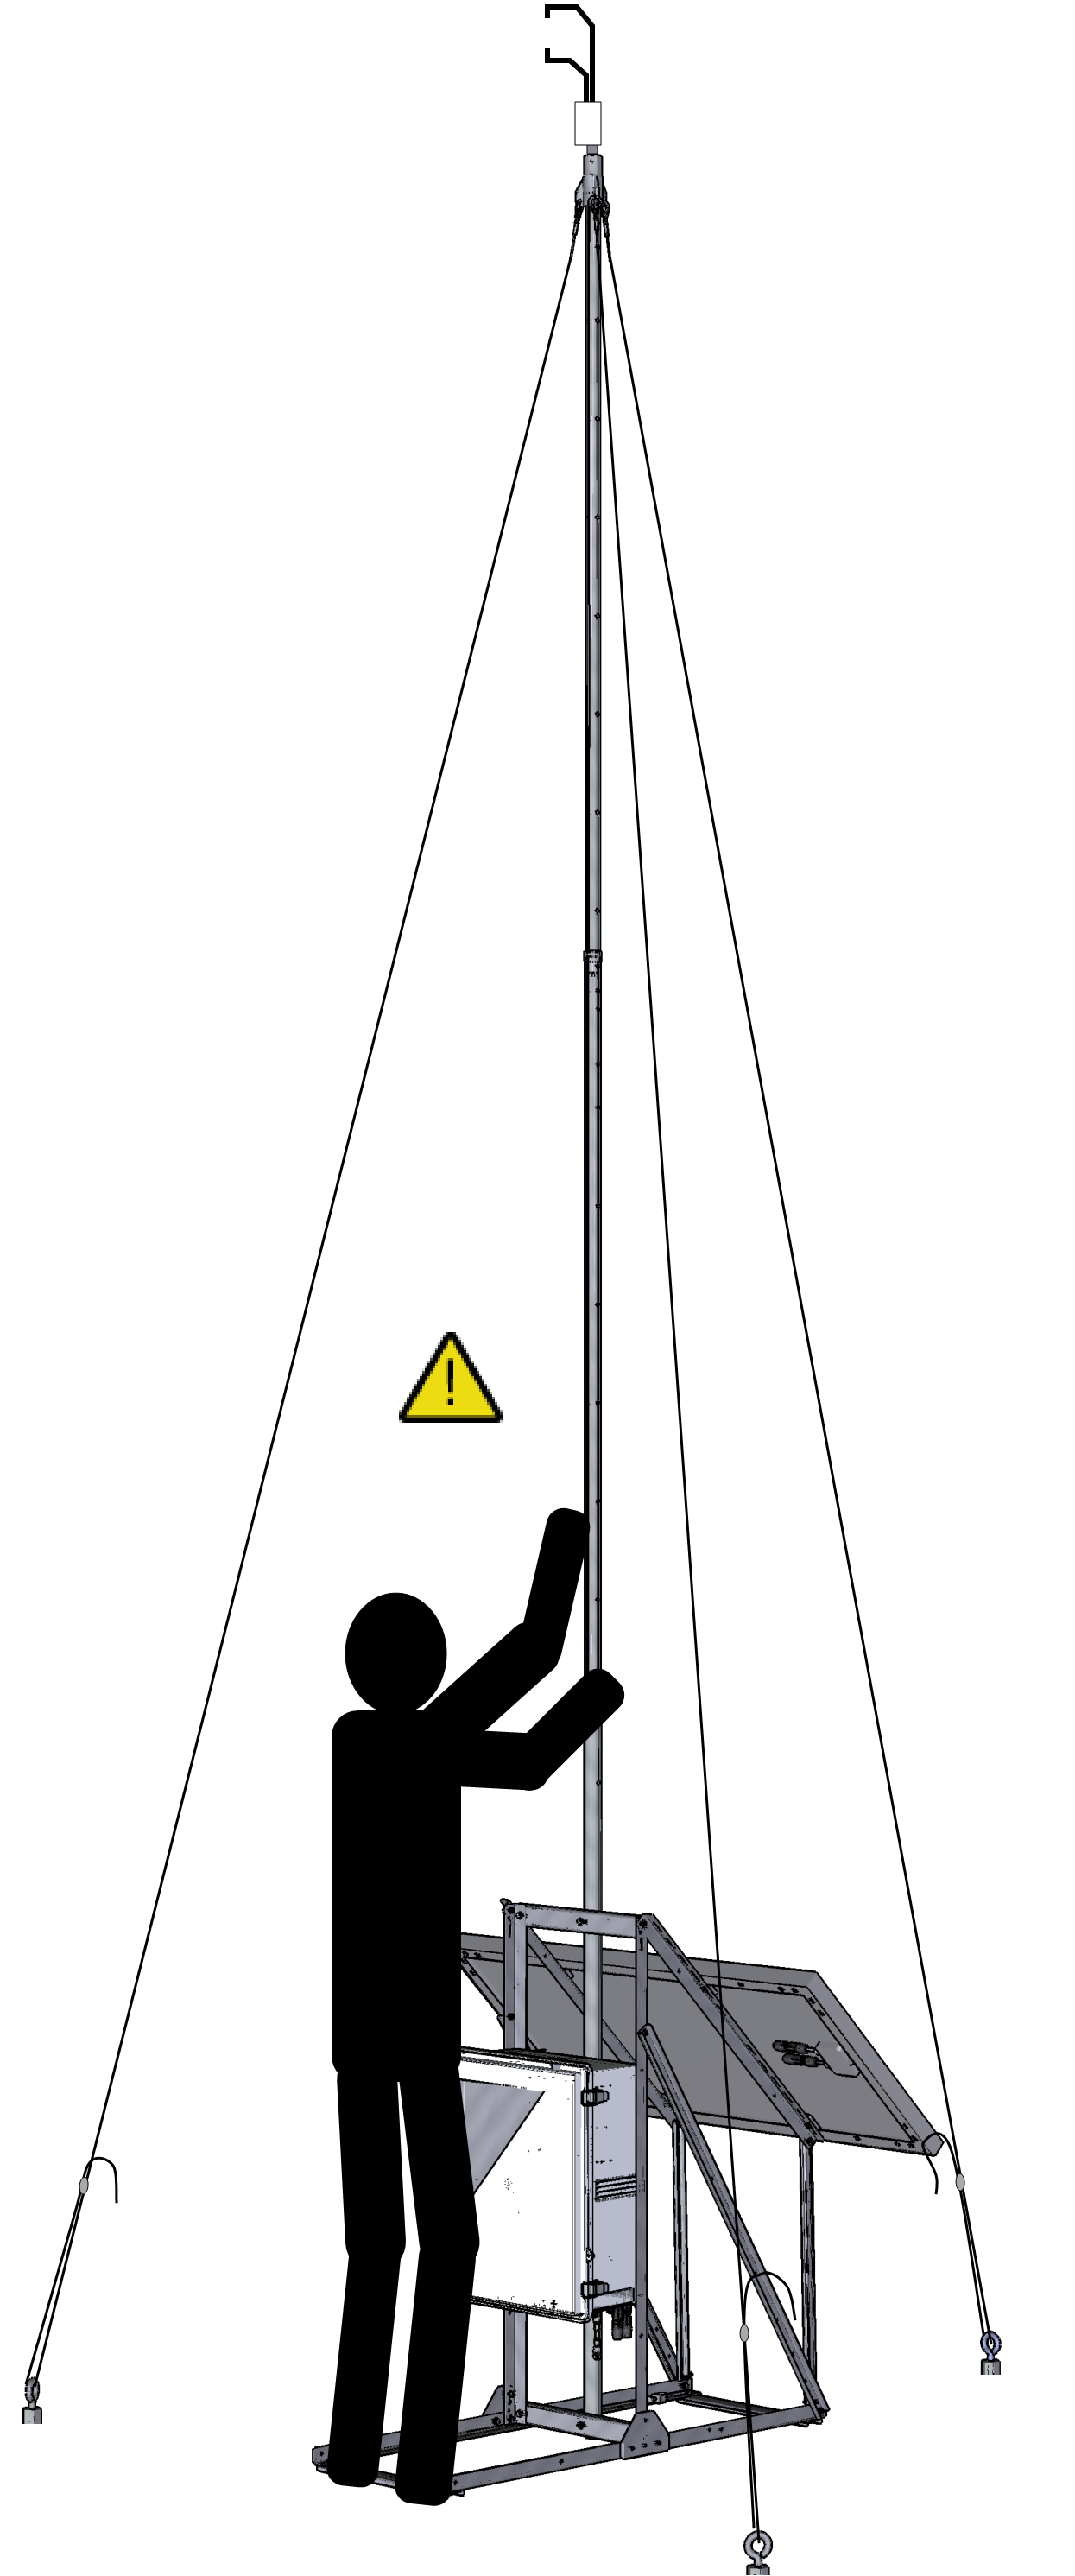
Figure 9‑1. Always grip the mast and use a hand-over-hand motion when lowering it. Do not allow the mast to slam down. -
Remove the guy wires.
Separate the clips from the adapter. The wires pass through a Gripple® clasp. If needed, loosen the Gripple using the key. Be careful, as the Gripple might fall apart if too much pressure is applied.
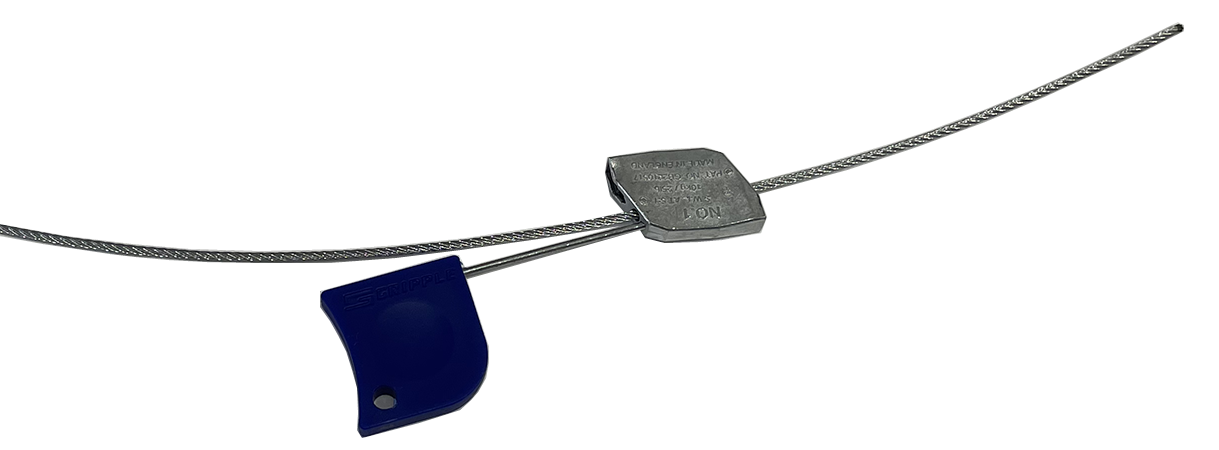
-
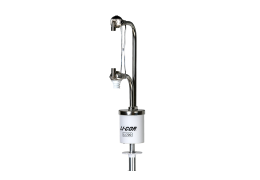
Remove the sensor from the adapter with the hex key.
Store the LI-710 or LI-720 in the original package to protect it from impacts. You can leave the sensor adapter on the mast or remove it to make the assembly more compact. Remove any other peripheral components and store them safely.
-
Remove the frame rails and loosen the frame locking bolts (new models).
Each rail is secured with two bolts. Remove both bolts. You can keep them in bag or insert them back into the openings for safekeeping.
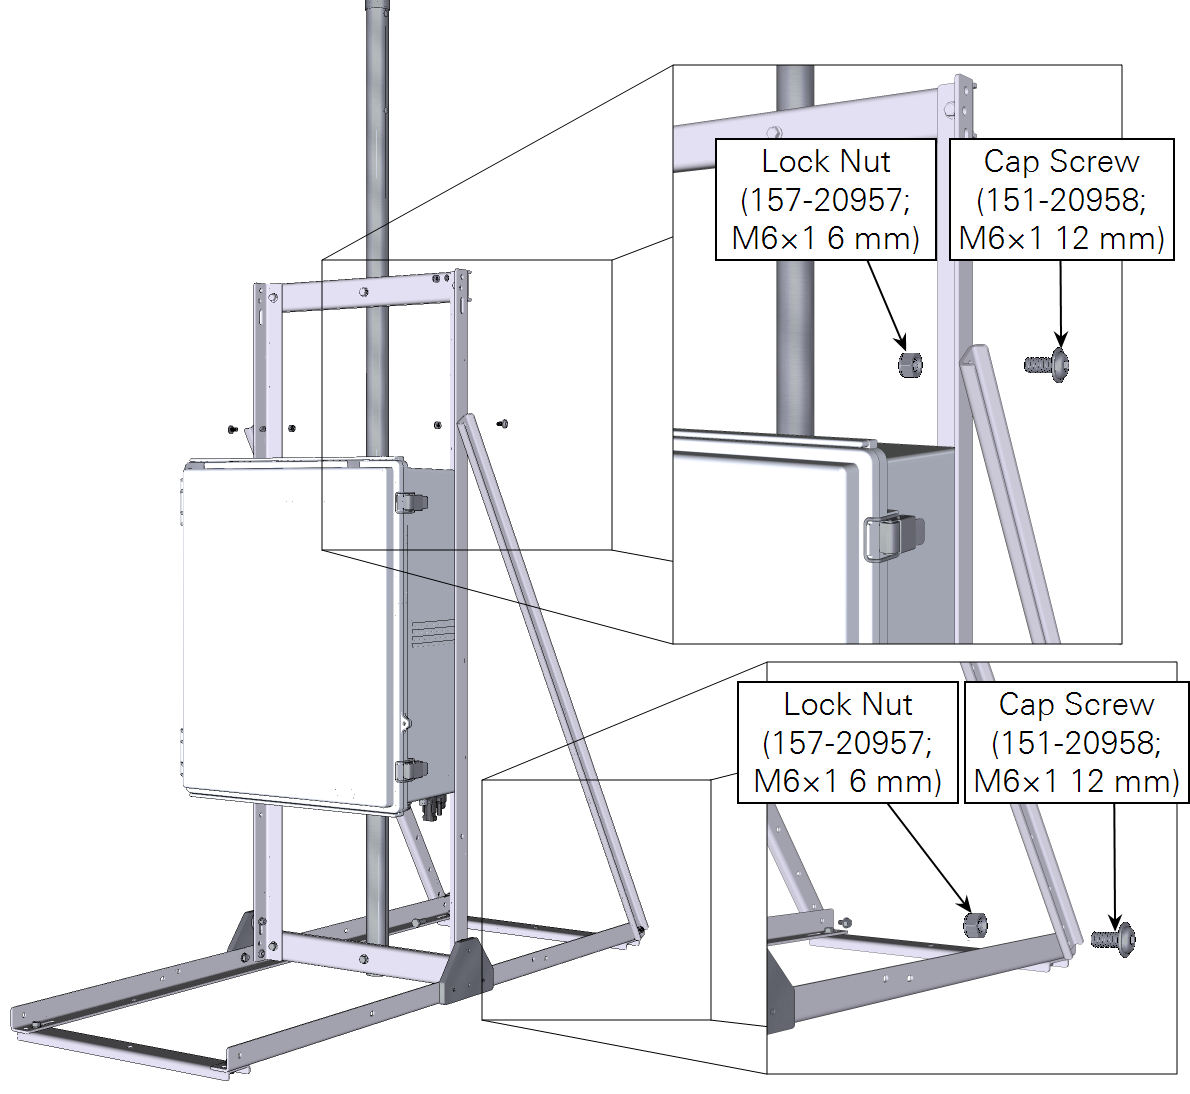
-
Lift the vertical portion of the frame it in the slots and fold it over.
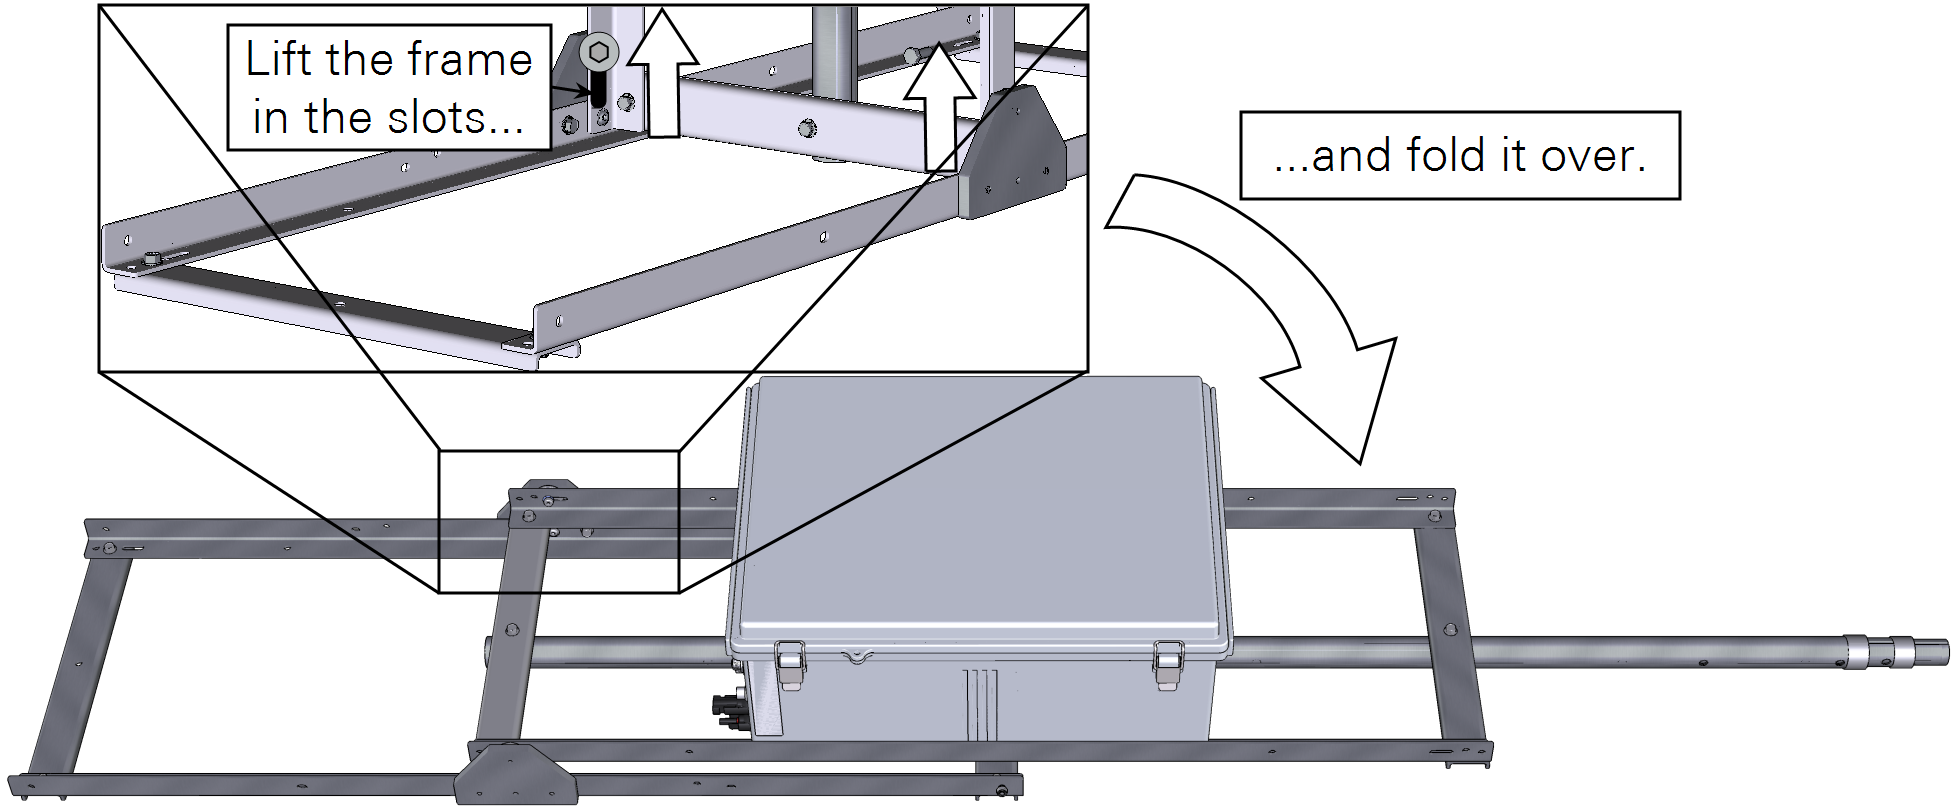
-
Slide the mast to align it with the frames.
Use a zip tie or twine to secure the frame in the closed position.
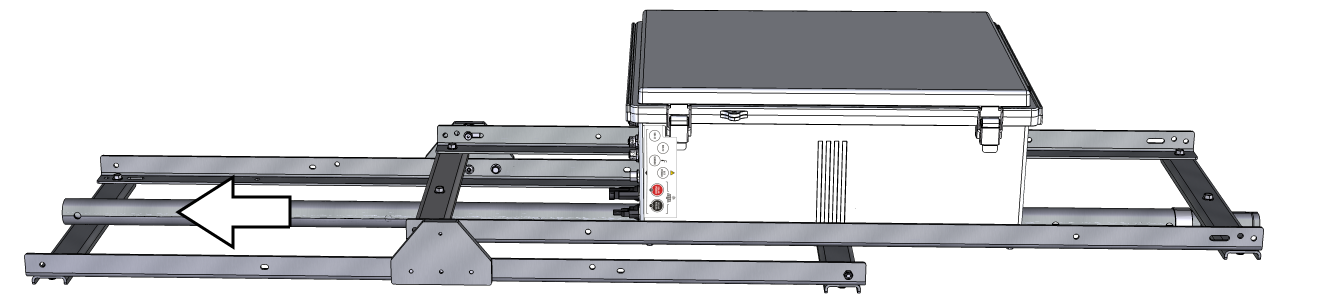
-
Remove the earth anchors using an impact driver.
Be sure to handle the LI-720 carefully, as described in Shipping the LI-720.