


Exporting data
In addition to the quick export described earlier, LI-COR Cloud provides more thorough and configurable export options.
Creating an on-demand export
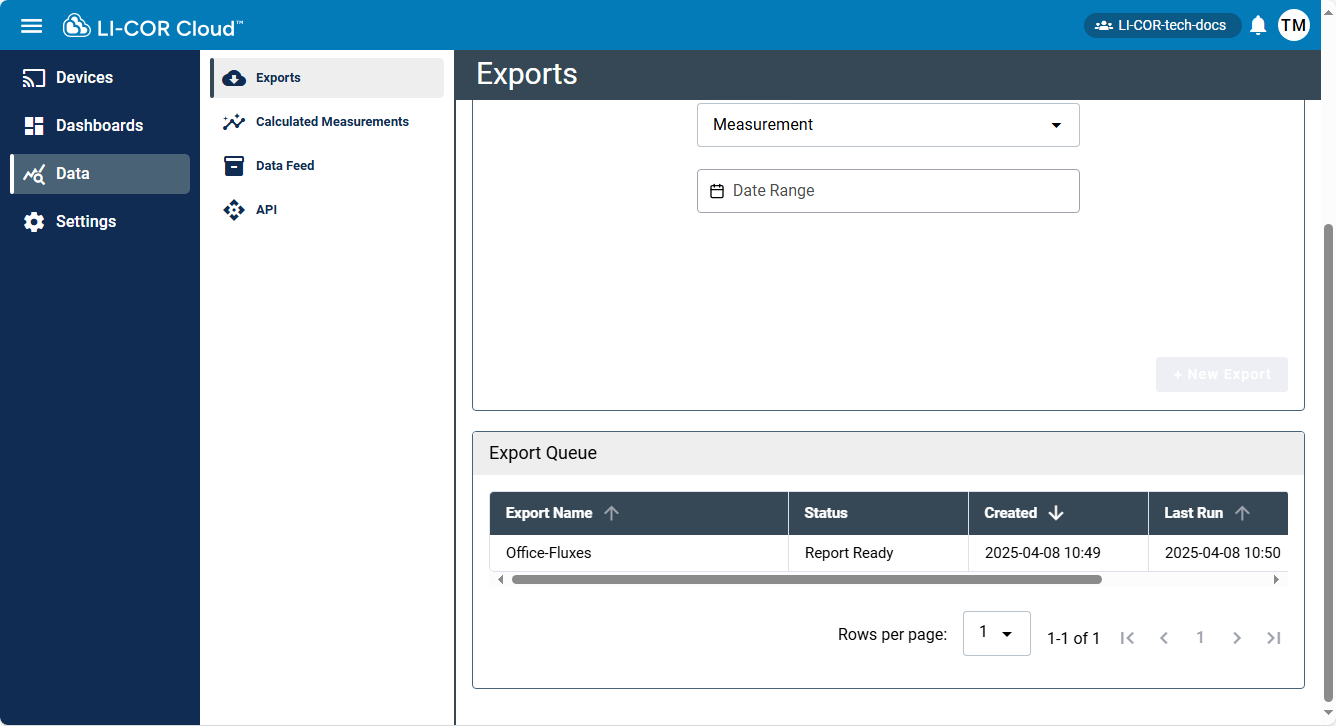
Data exports are configured from the Data tab.
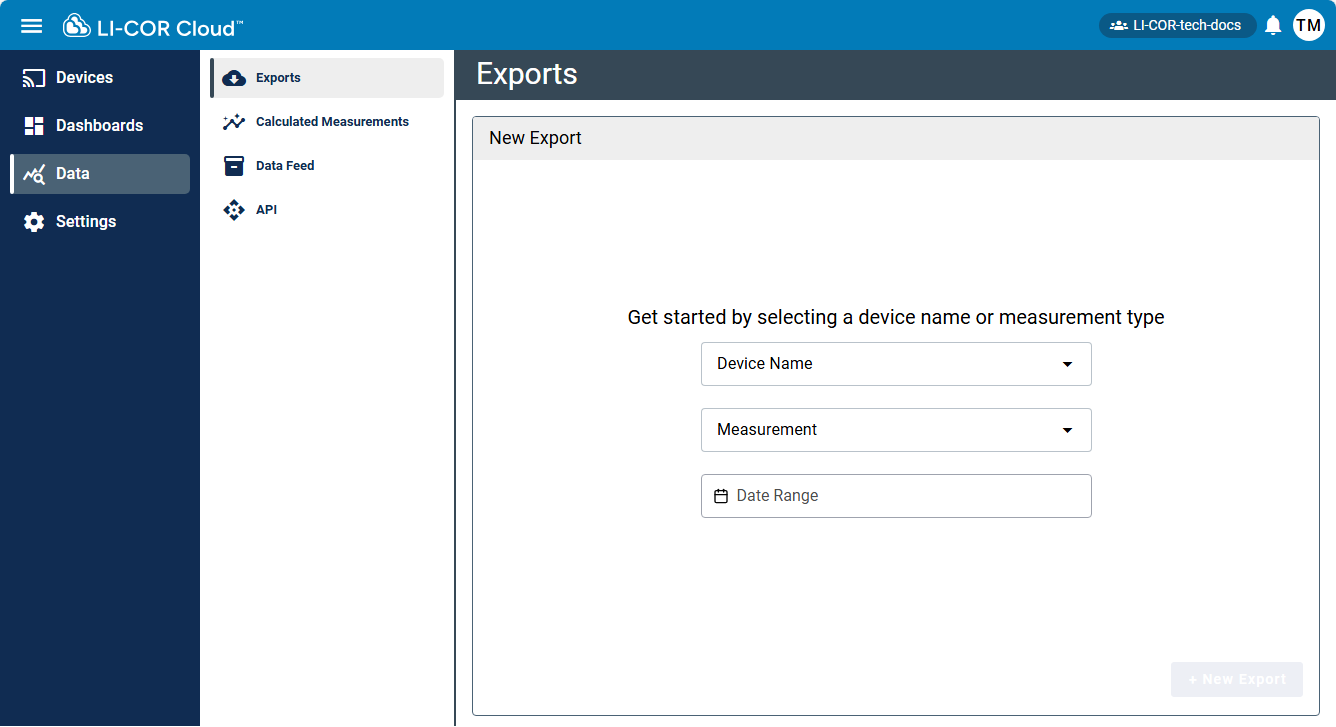
An export generates a file with data you select. You can view that file in other applications or share it with others. LI-COR Cloud creates the export once and does not rerun the export again unless you request it. To configure the export:
-
Click Data > Exports.
-
Select a device from the Device Name menu.
-
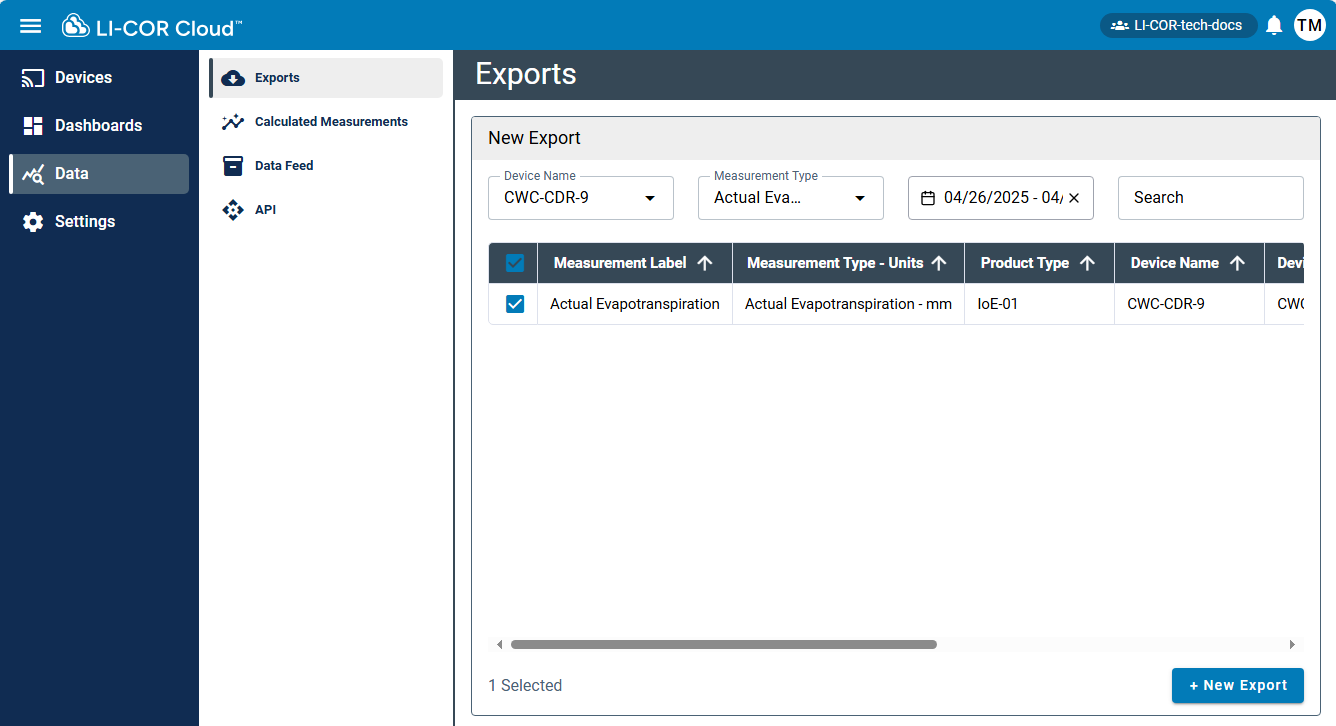
Select items from the table.
- Filter the table with the Measurements menu or the search field.
- Constrain the date range to the desired period.
-
Click + New Export.
-
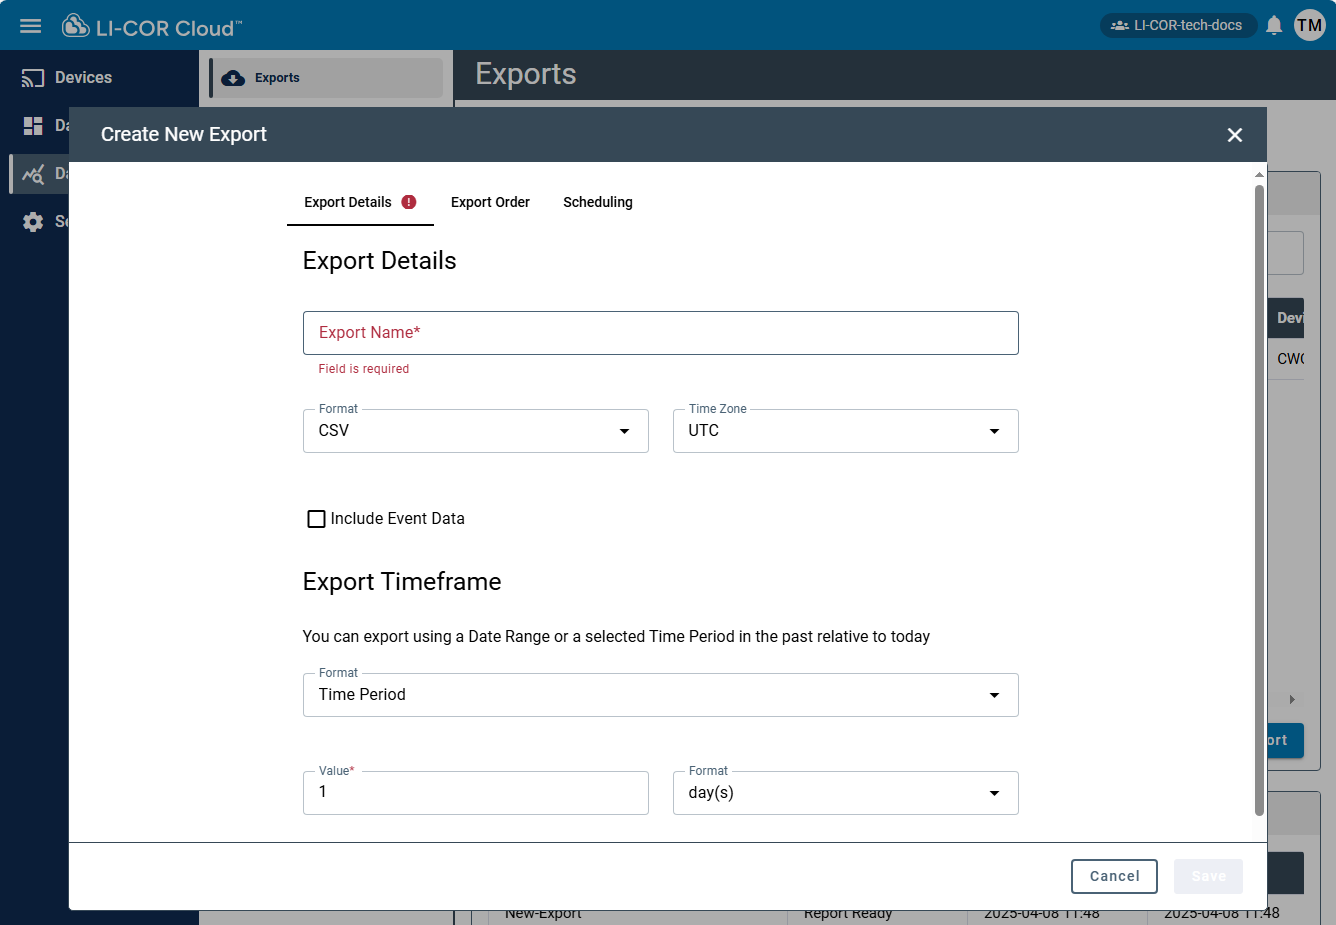
Fill in the Export details:
- Name the export.
- Select a Format: CSV or Excel.
- Select a Time Zone.
- Select Include Event Data (applies only to MX data logger events) if you want the report to include events such as alarms, logging starts and stops, and configuration events. The events you see depend on devices you are using.
-
Specify an Export Timeframe.
You can specify the following:
- Date Range: Use the calendar to specify dates. When you specify a date range, the export includes data for the specified time period.
- Time Period: Use a Value and Format to specify a period in the past. When you specify a time period, the export creates a moving window that allows you to get chunks of data over time.
-
Configure the Export Order (optional).
- Click Add a Measurement to add a measurement to the export if you did not add it on the Export Details tab.
- Change the Export Order to reorder how the measurements appear in the export.
-
 Delete a measurement if you do not want it on the export list.
-
Configure the Schedule, if desired.
Scheduling is described in Creating a scheduled export.
-
Click Save.
LI-COR Cloud adds your request to the Export Queue on the bottom half of the page.
When it is complete, you can download it, rerun the report, edit its settings, or delete the export file. The report is available for one month. The report definition is available for six months. If you edit the settings for an export in the Export Queue, those changes affect that export from this point forward. For example, if you created a scheduled export last week and run it today with edited settings, LI-COR Cloud uses the new settings for that export going forward.
Creating a scheduled export
LI-COR Cloud can create exports on a regular schedule, allowing you to automate downloads or sharing. As you configure the export, the interface informs you of the progress with icons:
-
 Danger: More information must be entered before you can proceed. Look for fields labeled as mandatory and complete them.
 -
 Warning: The configuration is valid, but some information may be missing.
-
Start by following the steps in Creating an on-demand export.
-
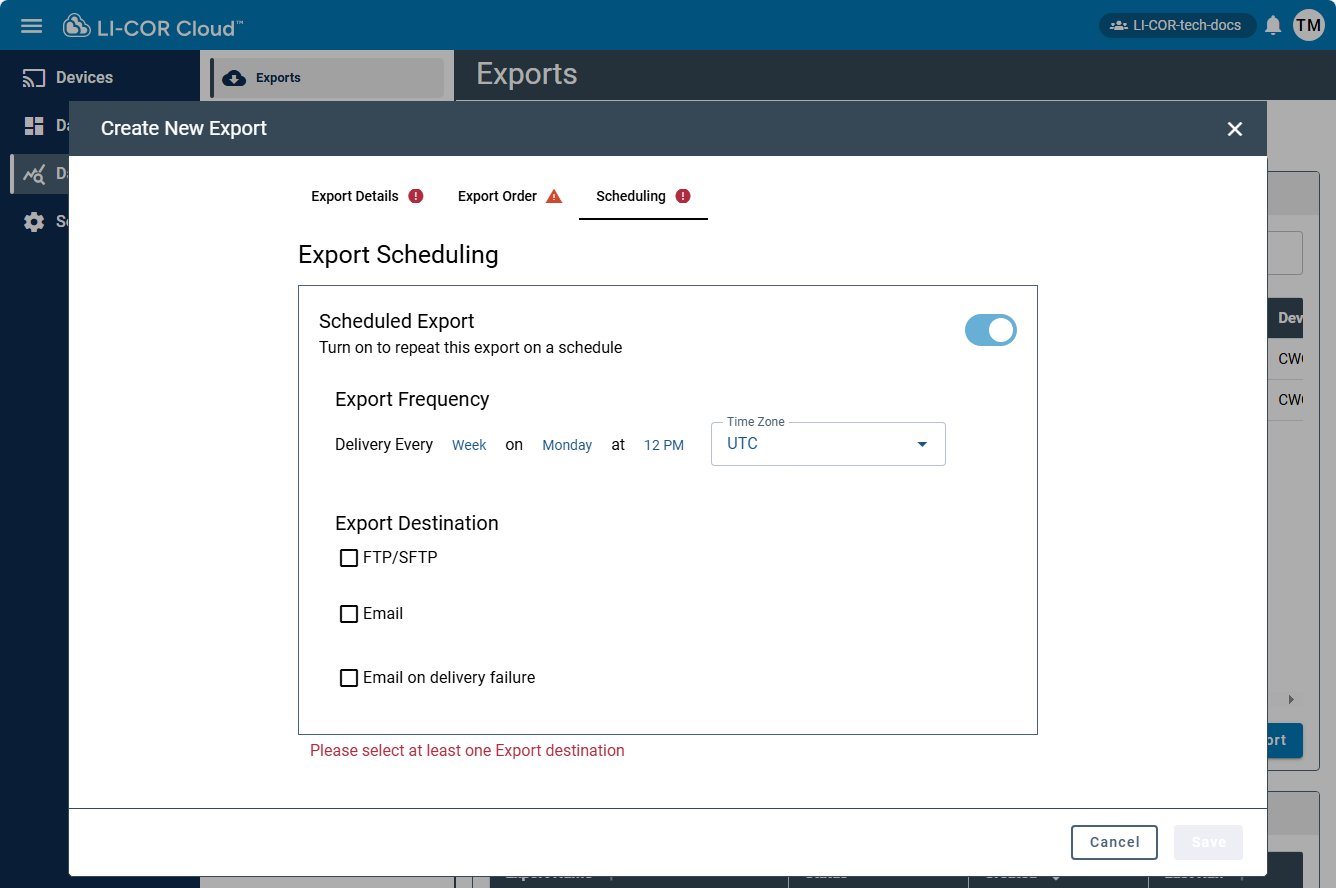
Select the Scheduling tab and turn on Scheduled Export.
-
Select a Time Zone and use the Deliver Every fields to configure the export.
-
In the Export Destination area, select from among FTP/SFTP, Email, and Email to account owner on delivery failure.
- FTP/SFTP - Select Use Organization Settings to use the default settings specified on the Data/Exports/Scheduling page. If you do not use default organization settings, enter alternative settings. See Default FTP/SFTP settings for information on the FTP/SFTP fields.
- Email - Enter email addresses to send the export to.
- Email on delivery failure - Enter email addresses to receive a notice if the FTP/SFTP delivery fails.